

- Creating and joining a public Daily room
- Asking for required application permissions
- Displaying videos from local and remote room participants
- Managing local microphone and camera input
- Leaving the call
Prerequisites
Before you get started, make sure you have a functioning iOS development environment, including the latest version of Xcode. You will also need a Daily account with a credit card on file. If you want to test your app with a physical iOS device, make sure you have iOS 13.0 or newer, have enabled your device to run your own applications, and have enabled developer mode on your device.Create a Daily room
Begin by navigating to Daily’s developer dashboard and creating a new Daily room.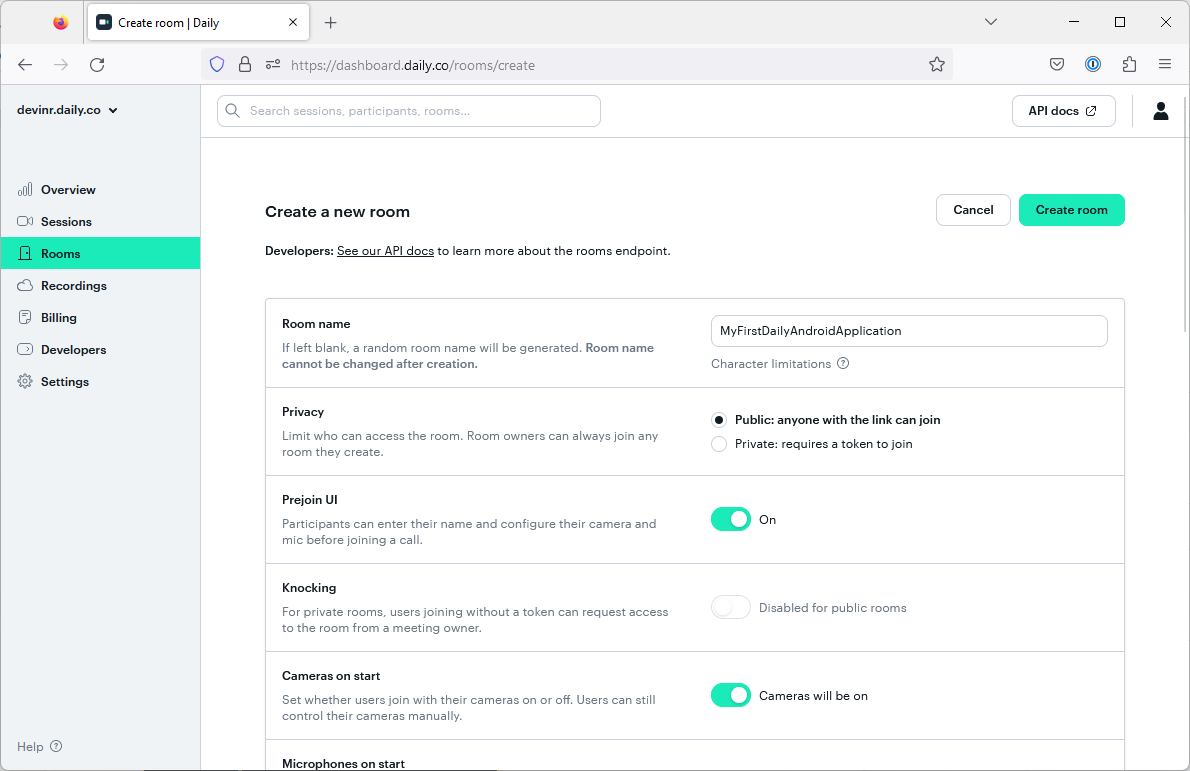
Create a new iOS project
Open Xcode and create a new project. Select the App template for your new project from the iOS tab: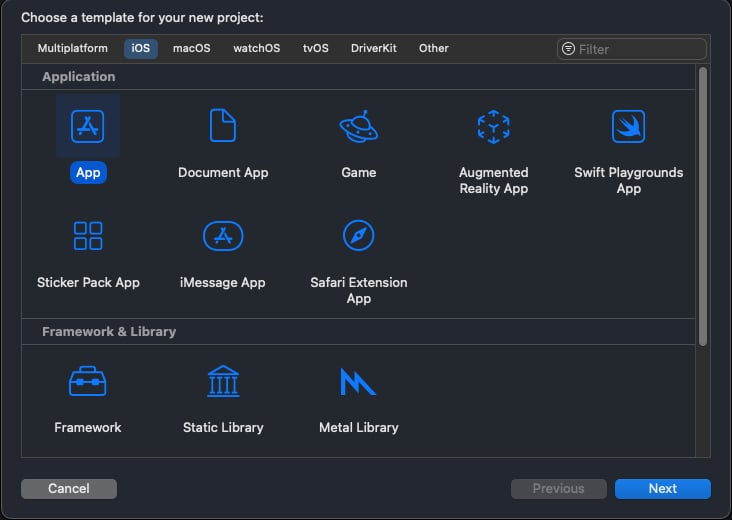
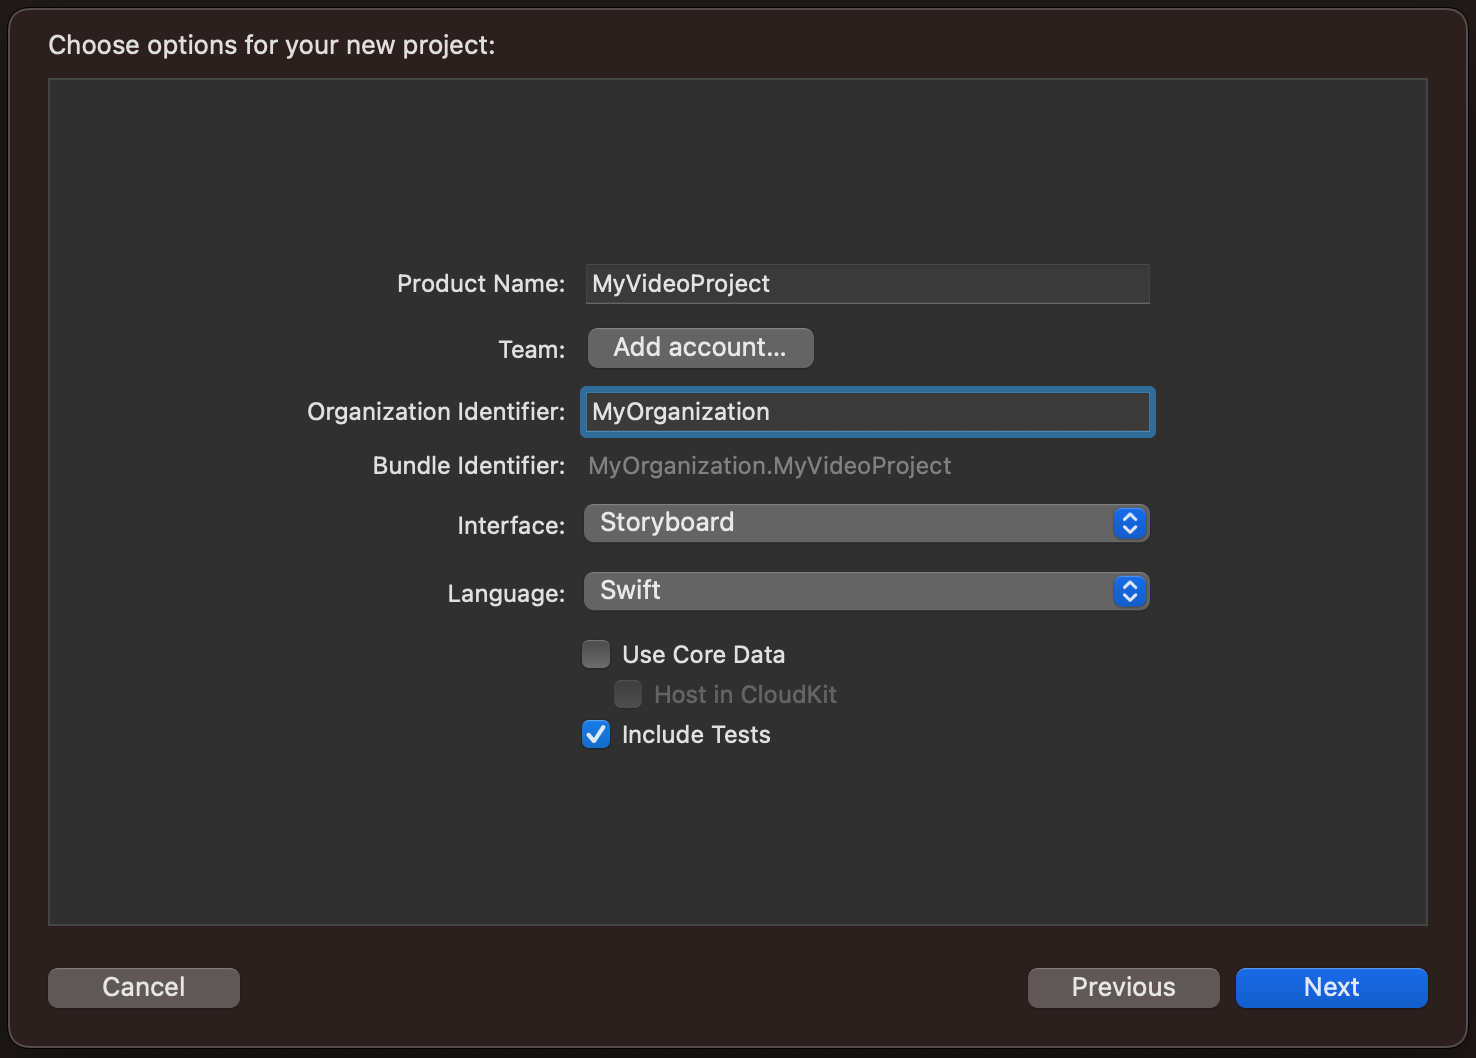
Add a dependency on Daily’s Client SDK for iOS
With your new project created, you can add the Daily’s iOS SDK as a dependency. When building an application using Xcode and Swift, you can use the Swift Package Manager to help you manage application dependencies. In the top left corner of your Xcode window, press the File tab and select the “Add Packages…” option.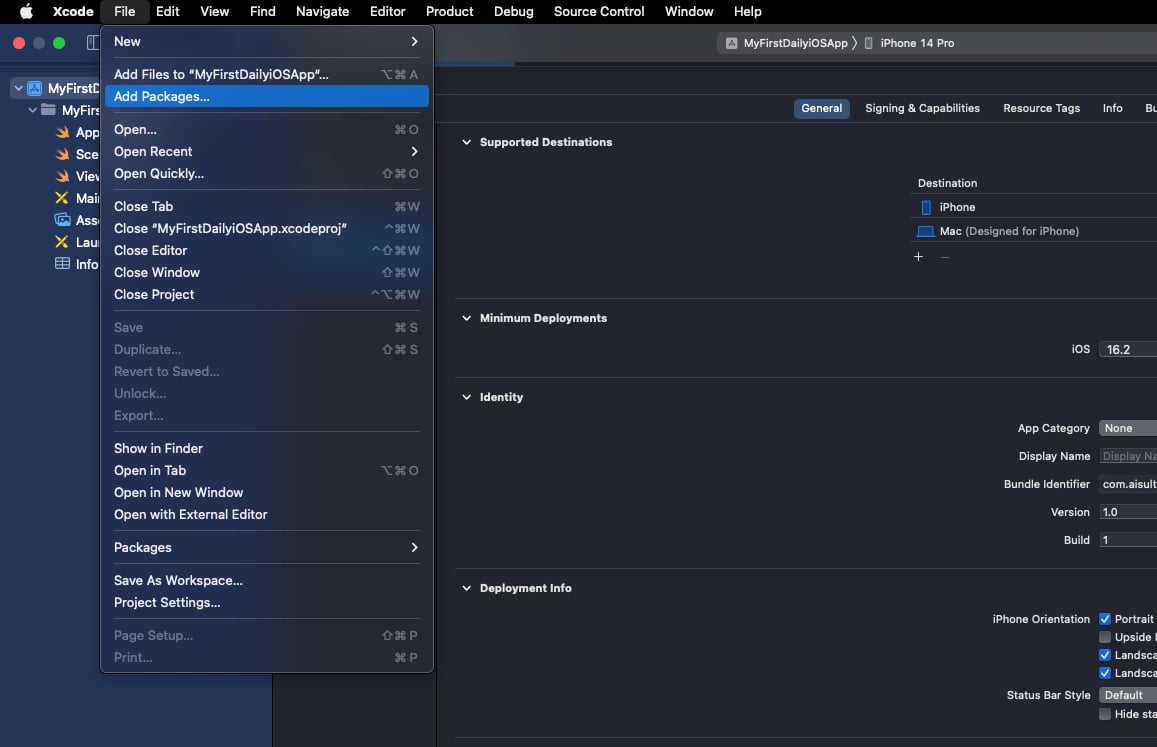
https://github.com/daily-co/daily-client-ios.git
A daily-client-ios package will appear:
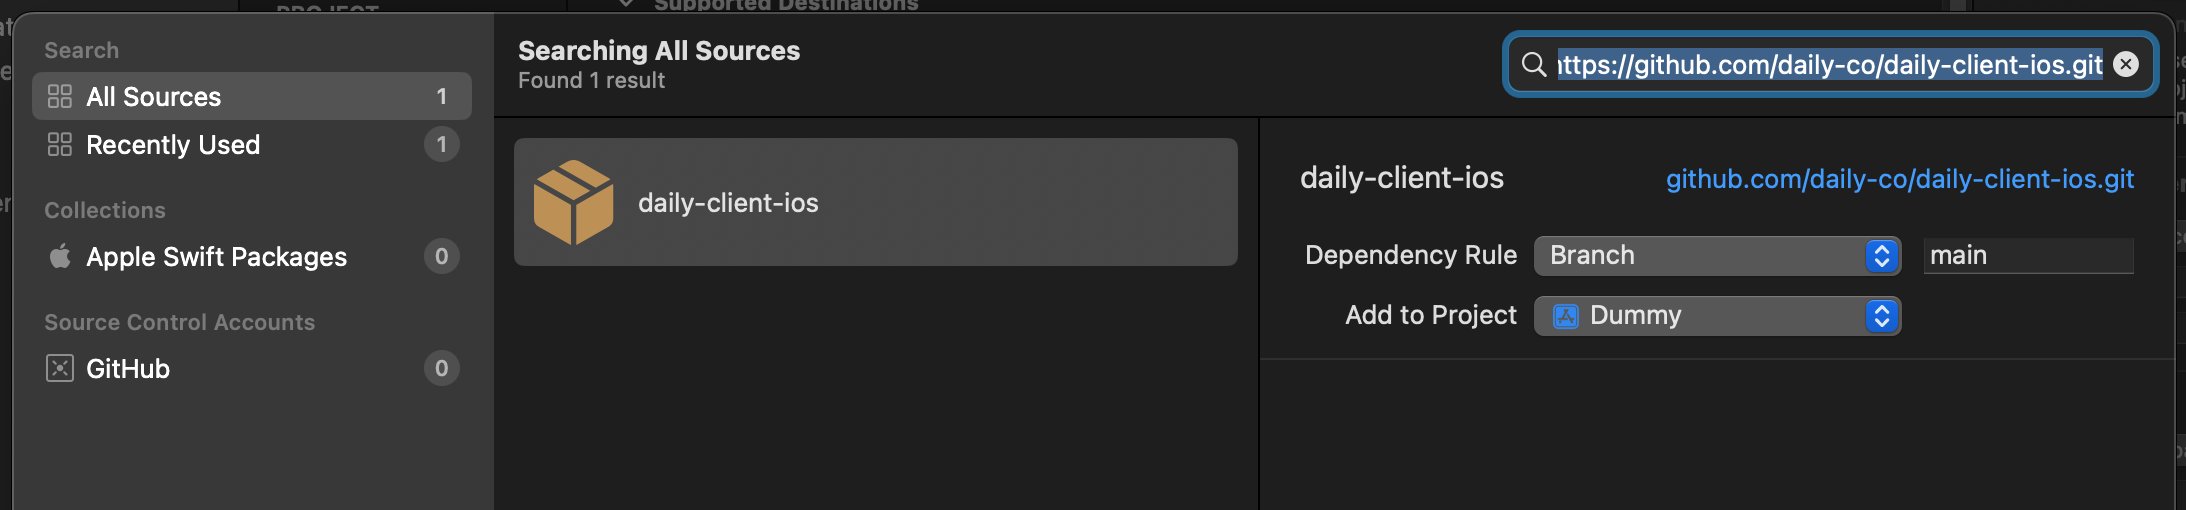
main. Then, click “Add Package”.
Xcode will now verify and load the package, then display a “Choose Package Products” dialog. Ensure “Daily” is selected and click “Add Package” again:
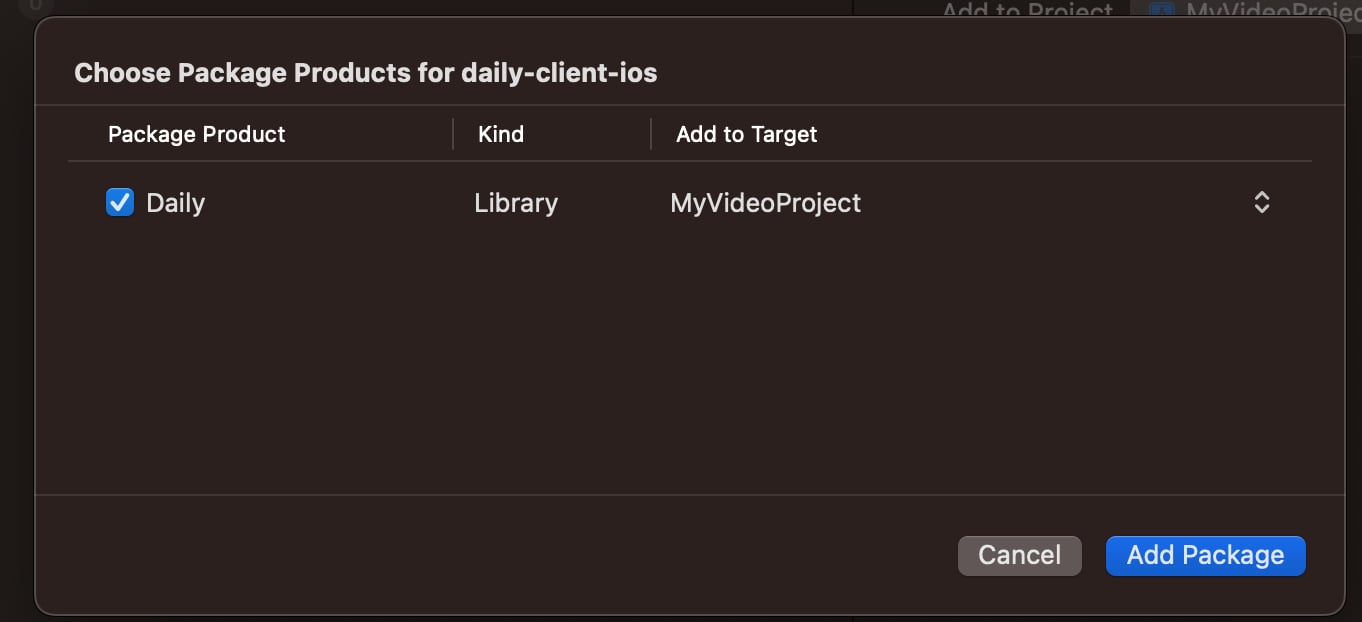
Daily recommends using the latest stable version of the package that is
compatible with your project requirements and your Swift version. Always check
the release notes of the package to ensure there are no breaking changes that
could impact your project.

Set application permissions
The application will need to be granted permissions to access the internet, use the device camera, and record and play audio. Click on the parent Xcode project name in the project navigation sidebar: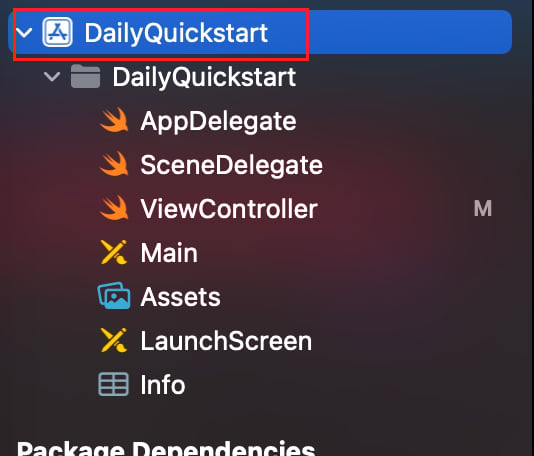

"Camera is necessary for transmitting video in a call":
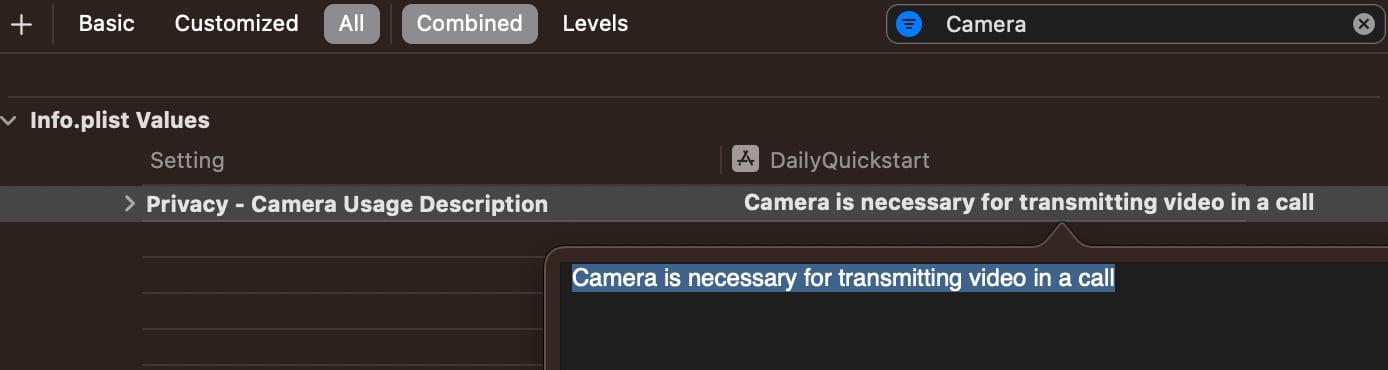
"Microphone is necessary for transmitting audio in a call".
To ensure that audio will continue uninterrupted when your app is sent to the background, you also need to add the BackgroundModes capability. To do so, right-click on the Info.plist file. Choose “Open As -> Source Code” from the context menu. Then, copy and paste the XML code fragment below into the outermost parts of the file’s body (<dict>...</dict>): add the following key and value to the top-level <dict>:
Info.plist file on GitHub.
Define the user interface
After implementing permission handling, we can define the user interface for our application. The UI will support the following functionality:- Displaying participants’ video
- Presenting call controls for toggling the camera/microphone and leaving the meeting
ViewController.swift and declare the following UI elements within the ViewController class:
main.storyboard file of the project. For that, you’ll need some familiarity with the Xcode Interface Builder. Alternatively, you can copy the storyboard source from our existing demo repository.
Configuring the application layout through Xcode Interface Builder
If you’re not already familiar with the Xcode Interface Builder, we’ve compiled some relevant resources below: Adding objects to a storyboard: Layout constraints: Connecting storyboard objects to code:- Add an
@IBOutletconnection to send a message to a UI object - Add an
@IBActionconnection to receive messages from a UI object - Add, remove, and modify
@IBActionand@IBOutletconnections
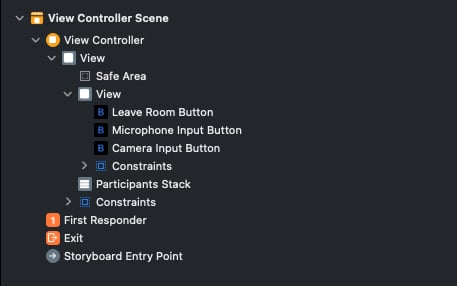
main.storyboard file and configure the required UI elements. These will be:
- A
UIButtonto toggle the camera - A
UIButtonto toggle the microphone - A
UIButtonto leave the call - A
UIStackViewfor the participant stack
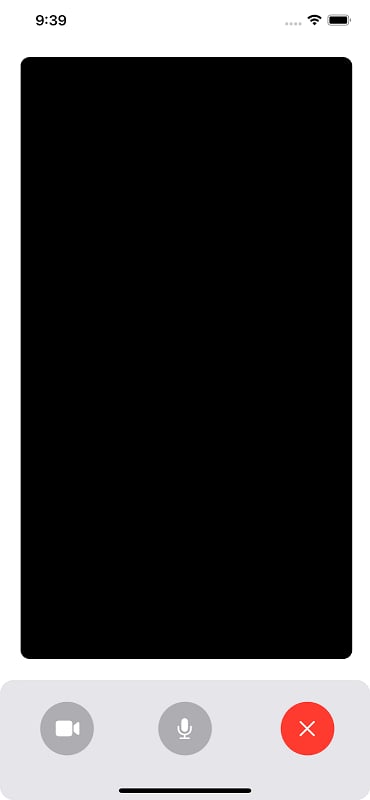
ViewController and configure their layout constraints.
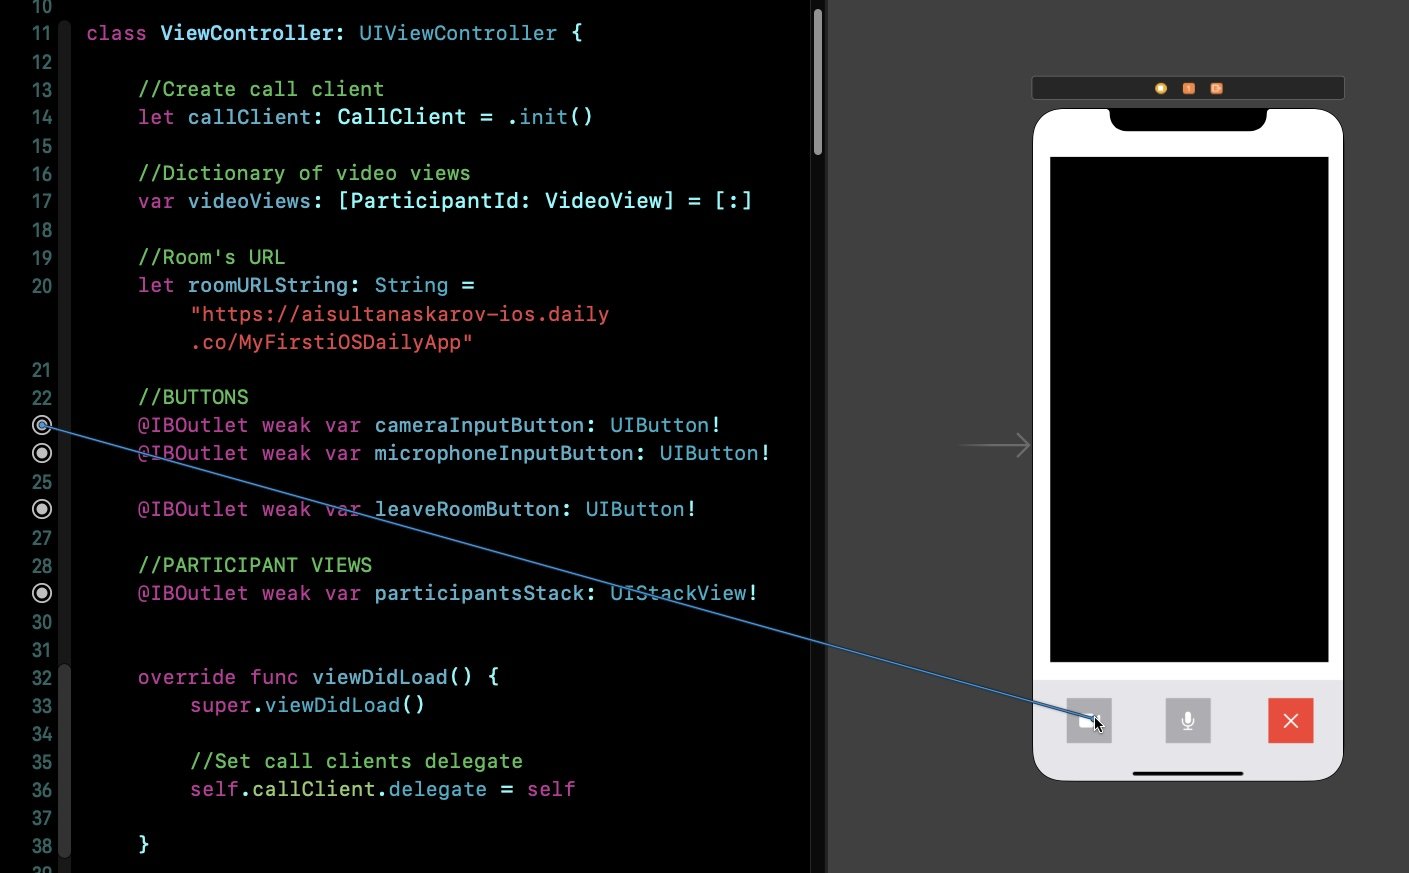
@IBOutlets you just defined in ViewController to their elements in the Storyboard:
Setting up the call client
Now that the basics of the application are in place, we can shift our focus to joining and displaying participant videos. TheCallClient is the main interface into your Daily video call. It should be instantiated and retained for at least the duration of the video call session.
First, open ViewController.swift and import Daily:
ViewController class, create a instance of the CallClient object, a VideoView for the local participant, and a dictionary of VideoView.
Finally, create a constant called roomURLString for your Daily room URL.
Add CallClient event listeners
With a CallClient instance created, we can set up our application to handle relevant events that occur during a video call. These events are emitted in response to actions like meeting participants joining, leaving, or being updated. We’ll handle these events by adding an extension to have ViewController adopt the CallClientDelegate protocol.
Add the following declaration in ViewController.swift, underneath the original ViewController class:
ViewController viewDidLoad() method, set the call client’s delegate to self:
updateControls() in the ViewController class. This function will update the state of the camera and microphone buttons. We’ll also call this.updateControls() from the viewDidLoad() override method:
inputsUpdated event within the CallClientDelegate extension:
viewDidLoad(). Additionally, disable the idle timer to keep the device screen active while the app is running. The final viewDidLoad() method will now look as follows:
participantJoined event in the CallClientDelegate extension:
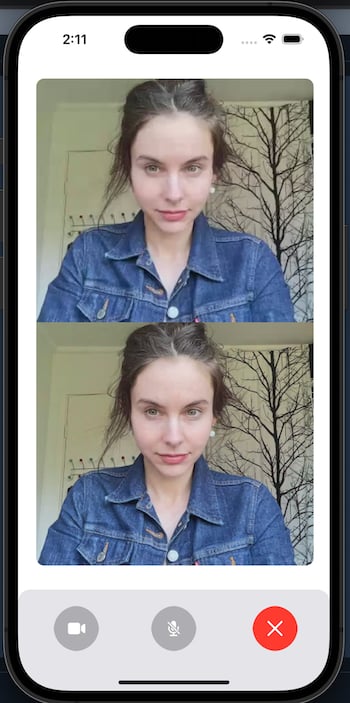
VideoView instance is created to display their video. The video view’s track property is set to the participant’s video track. The new participant is then added to a dictionary of video views. Finally, UI updates are performed and the view is set to update its layout.
We should also handle update events for call participants, which will inform the app when a participant toggles their camera or microphone. To do so, we’ll handle the participantUpdated event:
videoViews dictionary, we can find the video view of the remote participant being updated and modify it accordingly. If the participant being updated is local, we update their tracks using loclVideoView.
Finally, when a participant leaves the meeting we’ll handle the participantLeft:withReason event:
VideoView instance in the video views dictionary is removed.
Joining and leaving a Daily video call
With theCallClient instantiated set up to handle relevant Daily events, we’re ready to have our app join a Daily room.
Create a new enterRoom() function within the ViewController class. Within it, invoke the call client’s join() function, passing in the URL of the Daily room that you created earlier.
enterRoom() method from the view controller’s viewDidAppear() method:
@IBAction didTapLeaveRoom(_ sender: Any) to the leaveRoomButton. Then, invoke the the call client’s leave() method:
Toggling microphone and camera states
Now that we have participant video being displayed in the app, we’ll move on to implementing call controls. Connect the@IBAction didTapToggleMicrophone(_ sender: Any) to the microphoneInputButton. Use the call client’s setInputEnabled() instance method to toggle the microphone input:
@IBAction didTapToggleCamera(_ sender: Any) to the cameraInputButton. Use the call client’s setInputEnabled() instance method to toggle the camera input:
Wrapping up
This quickstart walked you through the basics of using the Daily’s Client SDK for iOS to build a simple video call app. You should now be familiar with:- How to create the app with appropriate dependencies and permissions
- How to join a Daily room
- How to display participant video in your Android app
- How to toggle the local participant’s microphone and camera
- How to leave the Daily room