

- Creating and joining a public Daily room
- Asking for required application permissions
- Displaying videos from local and remote room participants
- Managing local microphone and camera input
- Leaving the call
Prerequisites
Before you get started, make sure you have a functioning Android development environment including Android Studio. You will also need a Daily account with a credit card on file. If you plan to test your app on a hardware device, make sure you have debugging enabled on the device. If you plan to test your app on an emulator, make sure you have a virtual device created. Note that by default, the emulator will use an emulated camera.Create a Daily room
Begin by navigating to Daily’s developer dashboard and creating a new Daily room.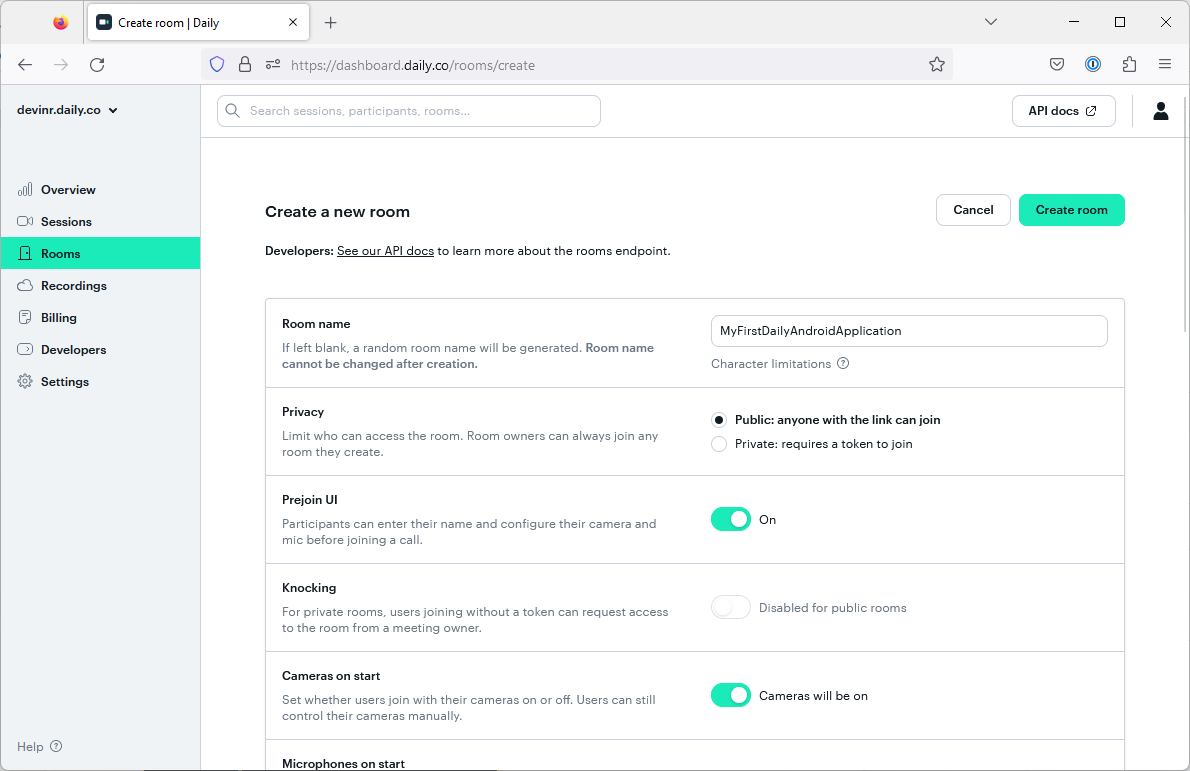
Create a new Android project
Next, open Android Studio. From the Welcome screen, create a new project using the “Empty Views Activity” template.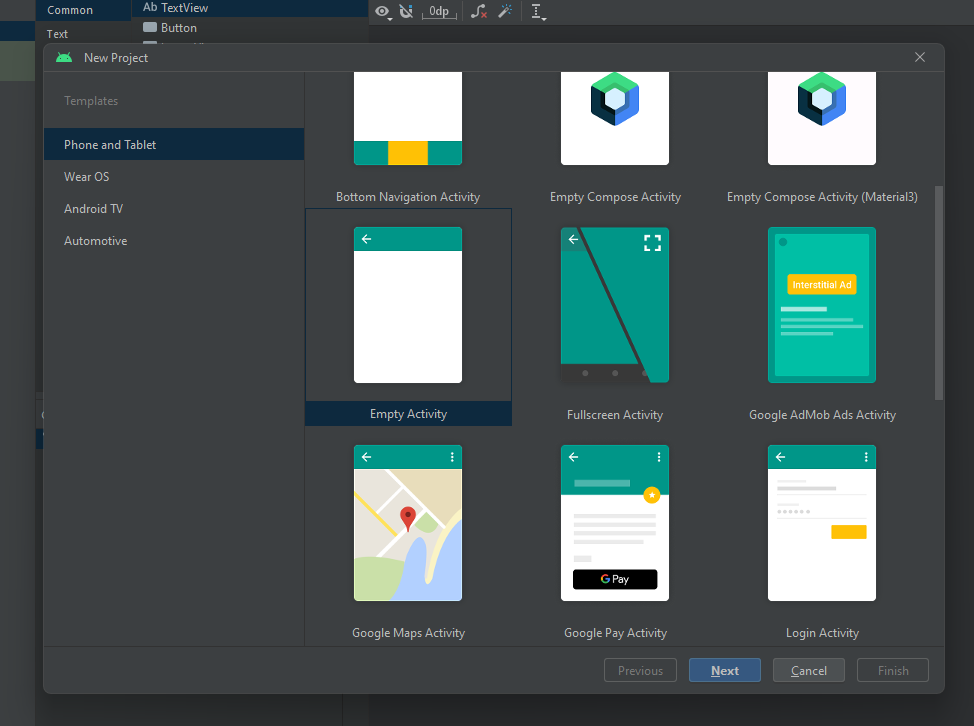
Add a dependency on Daily’s Client SDK for Android
With your new project created, you can add the Daily’s Android SDK as a dependency. Android Studio uses Gradle as its default build tool and dependency manager. Open the project’s Gradle build script in the app directory: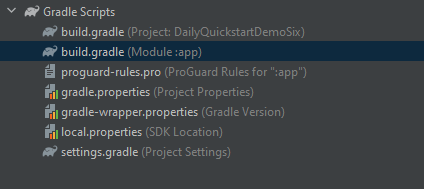
'co.daily:client:0.8.0' to the dependencies object:
The latest release of Daily’s Client SDK for Android is
0.8.0 at
the time of this publication. When developing your production application, we
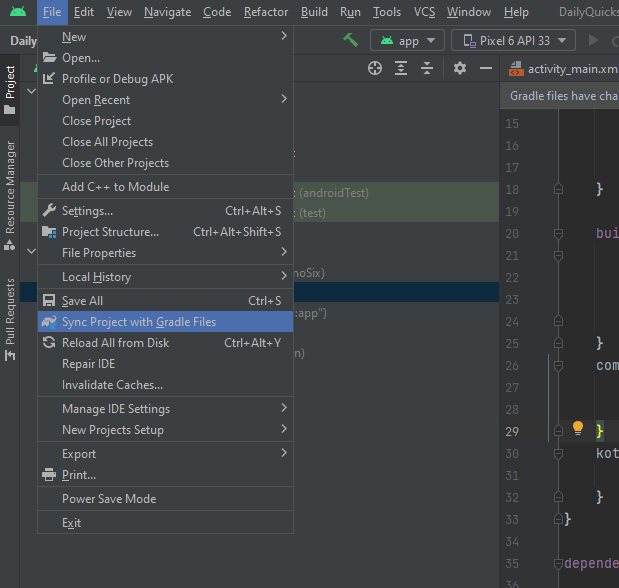
recommend referencing thelatest stable version.Sync Project with Gradle Files command in the Android Studio File menu.
Import namespaces and classes
After adding a dependency on Daily’s Android SDK, we can import relevant classes. Openapp/java/com.example.[YOUR_APP_NAME]/MainActivity.kt and add the following import statements:
Setting up the Main Activity
The next step is modifying theMainActivity class to set up the basic structure of our application.
Start by adding the TAG member variable and two functions:
initializeCallClient()checkPermissions()
checkPermissions() from the onCreate() function.
Configure application permissions
The application will need a number of user permissions in order to access the internet, use the device camera, and record and play audio. To request these permissions, we have to declare what we need as part of our app manifest. Openmanifests/AndroidManifest.xml. Then, add the following uses-permission and uses-feature elements inside the <manifest> tag:
MainActivity.kt, which uses Android’s built-in tools for creating runtime permission requests.
First, create a member variable named requestPermissionLauncher and use it to register an activity using the RequestMultiplePermissions contract:
RequestMultiplePermissions takes an array of permissions the application would like to request.
In the activity callback, we check to see if additional permissions are needed. If so, we run checkPermissions(). If not, the application can call initializeCallClient() to begin setting up the video call.
Next, implement the checkPermissions() method you defined within the MainActivity class as follows:
checkPermissions() method above gets the list of permissions the application needs from the app manifest and checks whether they have already been granted.
If all of permissions have been granted, the application begins initializing the Daily CallClient object by calling the initializeCallClient() method.
If the application requires additional permissions from the user, it launches the built-in request flow.
For this quickstart we’re not handling conditions where the user declines
permissions, but in a real application you would want to do that.
Define the user interface
After implementing permission handling, we can define the user interface for our application. The user interface will include the following:- Displaying participants’ video
- Presenting call controls for toggling the camera/microphone and leaving the meeting
- A main UI that contains call controls and a participant list
- A wrapper around the Daily
VideoViewthat holds each participant’s video
/res/layout/activity_main.xml layout file and switch to Code view:
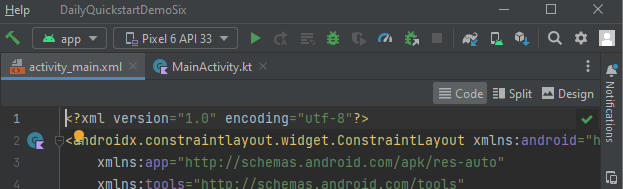
ToggleButtons for controlling the camera and microphone, a single Button to leave the call, and a LinearLayout to contain participant videos.
Next, we need a wrapper for VideoView. In /res/layout, create a new Android Resource file named participant_view.xml. Replace the default UI XML with the following:
Before you build and run the application, verify that you’ve created a device
emulator or that your physical device is set up for debugging.

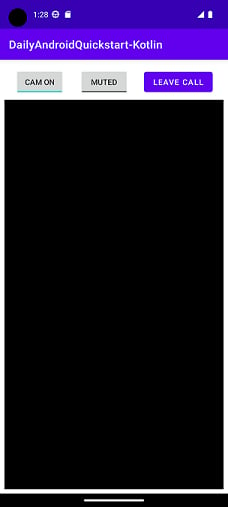
Create the call client
Now that the basics of the application are in place, we can implement functionality to join a call and display participant videos. TheCallClient is the main interface into your Daily video call. It should be instantiated and retained for at least the duration of the video call session.
Open MainActivity.kt and locate the initializeCallClient() method. Within it, create an instance of CallClient followed by a map of VideoView objects:
initializeCallClient(). Start by retrieving the participant layout view within this method:
CallClient event listeners. These events are raised in response to actions like meeting participants joining, leaving, or being updated:
VideoView UI element. The VideoView instance has its track set to the joining participant’s available video track.
If a participant is updated (for example, by turning off their camera), we update that participant’s VideoView accordingly.
Join a call
Now that our application has aCallClient instance and can react to meeting participant events, we’re ready to join a room. To do this, call the join() function and pass in the URL of the Daily room you created at the start of this tutorial.
"[YOUR_DAILY_ROOM_URL]" with th URL of your room. You can find the room URL in your Daily developer dashboard.
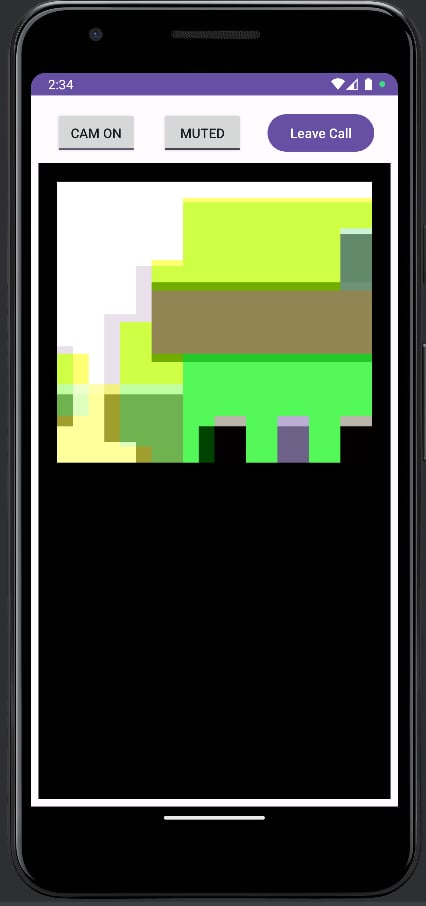
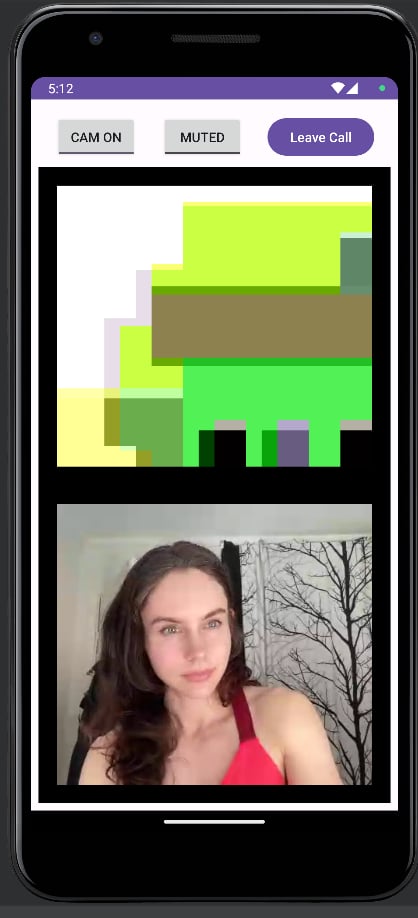
Go ahead and run the application again. Once you have successully joined the meeting, if you are running on actual hardware, you should see your Android device’s camera video being shown as a participant in the application. If you are using the Android emulator, you should see an emulated camera.
Toggling microphone and camera states
Now that we have participant video being displayed in the app, we can implement call controls. We’ll begin by checking the initial state of the local participant’s microphone and camera and reflect it in the call control UI. To do so, initialize the toggle button member variables within theMainActivity class definition:
onCreate() to find the toggle buttons within the application layout:
join() callback we defined earlier, check the inputs() function to get current camera and microphone states:
onInputsUpdated() event handler within the call client listener:
setInputEnabled() call client instance method. This method will be defined within initializeCallClient() and invoked when the microphone and camera button states change:
Leaving a call
Now that we’re done with the video handling and device toggling functionality, we’ll implement a final critical feature: leaving the call. The application user should be able to disconnect from the Daily room by tapping the Leave button. This action invokes the call client’sleave() method. Add the following code within initializeCallClient():
Wrapping up
This quickstart walked you through the basics of using the Daily’s Client SDK for Android to build a simple video call app. You should now be familiar with:- How to create the app with appropriate dependencies and permissions
- How to join a Daily room
- How to display participant video in your Android app
- How to toggle the local participant’s microphone and camera
- How to leave the Daily room